
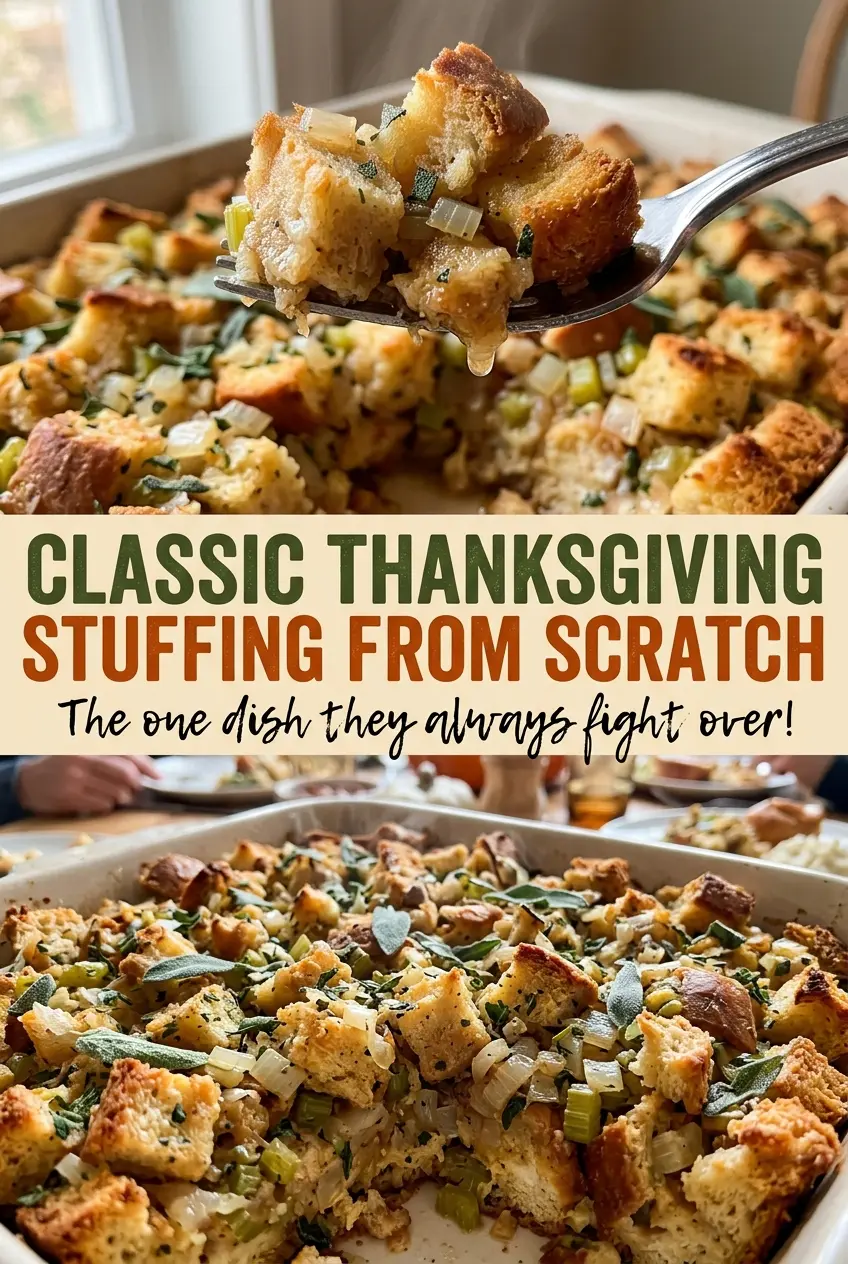
As the bread cubes dry, their edges turn crisp and the kitchen starts to smell like Thanksgiving before anything goes into the casserole dish. I learned not to rush that part: bread that still feels soft can soak up the broth and leave the finished stuffing heavy. This classic Thanksgiving stuffing from scratch bakes in a dish, so the top browns while the center stays tender.
Fresh sage and thyme give it that familiar savory flavor, with parsley adding a fresh finish. The onion and celery soften in butter, so their sweetness settles into the bread instead of staying sharp.
Eggs help the broth bind everything into a cohesive bake, while the bread still keeps its shape. Each scoop has a golden top and a moist, savory middle.
Kitchen Note
Give the onion and celery time to soften before adding the herbs. Sage, thyme, and parsley need only the final minute in the warm butter; adding them earlier can dull their fresh aroma.
Save this classic Thanksgiving stuffing for its crisp golden top, tender center, and fresh sage-and-thyme flavor.
Why the Bread Needs to Dry Before It Meets the Broth
Drying the bread isn’t just a way to use up a loaf that’s past its prime. It changes how the cubes take in the broth. Bread that’s still soft already holds plenty of moisture, so it can turn sodden and compact as the eggs set. Dry, crisp cubes have room to absorb the broth mixture and soften in the oven without immediately collapsing into a dense mass.
The texture you want before mixing is crisp throughout, not merely dry on the outside. That’s why the cubes go in a single layer and get stirred once: crowded or untouched pieces can dry unevenly, leaving some firm and others soft. Cooling them before adding the vegetables and broth also keeps the mixture from getting steamy in the bowl. The finished stuffing should hold together when scooped, with individual bread pieces still easy to see.
What the Bread, Butter, and Herbs Bring to the Pan
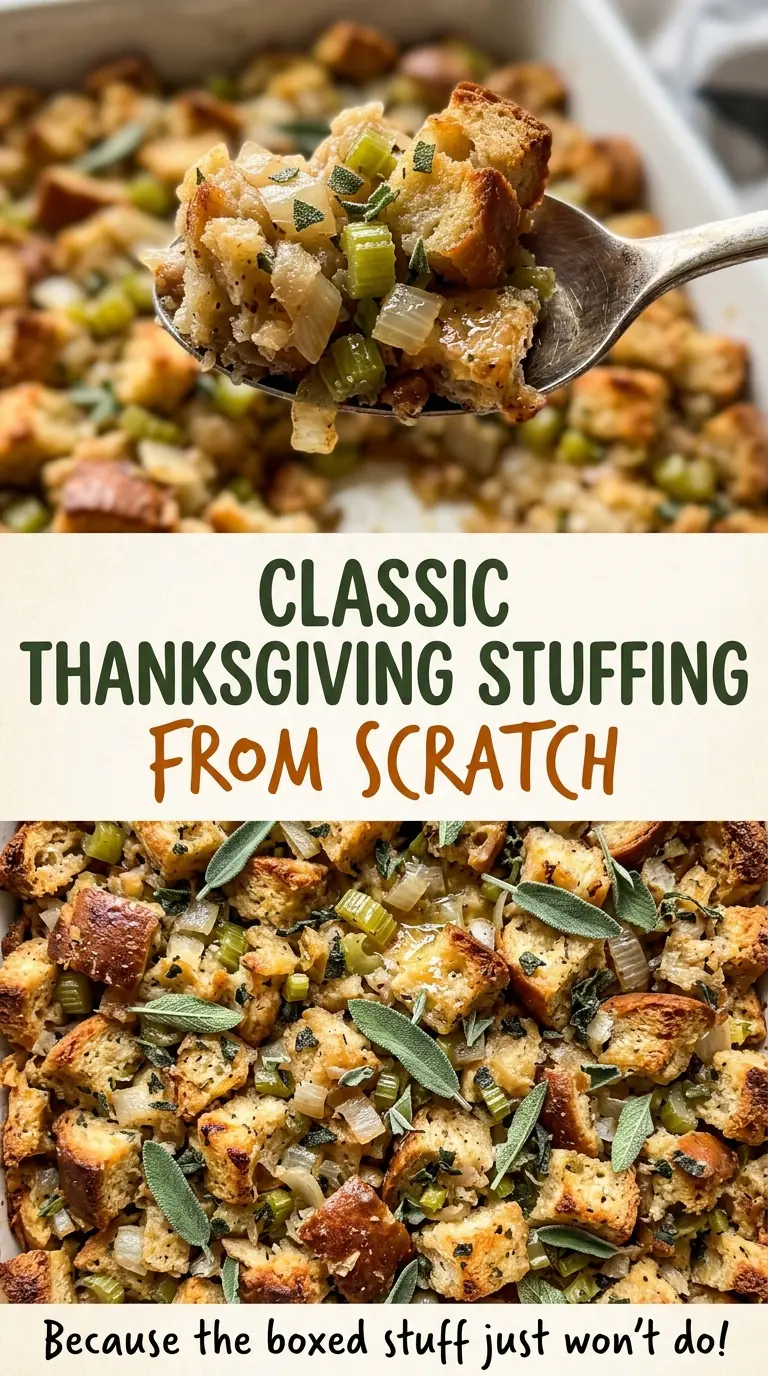
- Sturdy white bread — A firm loaf cuts into cubes that keep their shape through drying and baking. A sturdy sourdough loaf works in its place and adds a mild tang; a soft loaf is more likely to lose its definition. The least expensive sturdy loaf is fine here, since the herbs and butter provide plenty of character.
- Unsalted butter — Butter carries the softened onion, celery, and herbs through the bread, giving the stuffing a rounded, rich base. Unsalted butter lets the seasoning stay in your control; a standard grocery-store brand works well.
- Yellow onion and celery — These make the familiar aromatic base and bring sweetness and a little fresh bite. Cut them into small, even dice so they soften at the same pace. Fresh, firm celery is worth choosing; pre-diced onion is a convenient option if the pieces are evenly cut.
- Fresh sage, thyme, and parsley — Fresh herbs give this stuffing its bright, savory character. Look for leaves that smell fragrant and aren’t wilted; there’s no need for a specialty brand. The parsley adds a lighter note alongside sage and thyme rather than making the dish taste strongly herbal.
- Low-sodium chicken broth and eggs — Low-sodium broth brings moisture without making it harder to control the seasoning. The eggs help the liquid set around the bread as it bakes, so they aren’t a good ingredient to leave out if you want the stuffing to hold together. A basic low-sodium carton of broth is all you need.
Drying, Binding, and Browning the Stuffing
Dry the Cubes Until Crisp
Heat the oven to 300°F and coat a 9×13-inch baking dish with nonstick cooking spray. Spread the bread cubes in a single layer across two rimmed baking sheets, then bake for 25 to 35 minutes, stirring once. Look for cubes that feel dry and crisp rather than bendy or soft in the middle. Let them cool before they go into the broth mixture.
Soften the Vegetables in Butter
Melt the butter in a 12-inch skillet over medium heat, then add the diced onion and celery. Cook for 8 to 10 minutes, stirring as needed, until both vegetables have softened. They should look tender, not browned or crisp at the edges. Stir in the sage, thyme, and parsley for the final minute.
Coat Every Cube Evenly
In a large bowl, whisk together the chicken broth, eggs, kosher salt, and black pepper until the eggs are blended in. Add the cooled bread and cooked vegetables, then toss until the mixture is evenly moistened. Check the bottom of the bowl as you toss; a puddle of broth there means the liquid hasn’t been distributed yet. Transfer the mixture to the prepared baking dish.
Cover for a Tender Center, Then Uncover
Increase the oven temperature to 350°F and cover the baking dish tightly with foil. Bake covered for 30 minutes, then remove the foil and bake for 15 to 20 minutes more, until the center reaches 165°F and the top is golden. If the top is already golden before the center is ready, cover the dish again while it finishes baking. Rest the stuffing for 10 minutes before serving so it settles into an easy-to-scoop texture.
Three Ingredient Swaps That Keep the Stuffing on Track
Make It Vegetarian with Vegetable Broth
Replace the chicken broth with the same amount of low-sodium vegetable broth. The stuffing stays savory and moist, though the broth’s flavor will be a little lighter and less chicken-forward.
Use Gluten-Free Bread
Swap in a sturdy gluten-free white loaf, keeping the loaf size the same. Gluten-free bread can be more delicate, so spread the cubes gently and dry them until crisp before tossing; the result may be a little more tender but still holds together.
Make It Dairy-Free with Plant-Based Butter
Use an equal amount of unsalted plant-based butter in place of the dairy butter. It still gives the vegetables a fat to soften in, though the finished stuffing may taste a little less rich than the version made with butter.
Storage and Reheating
- Refrigerator: Refrigerate leftovers within 2 hours in a covered, shallow container and eat within 3 to 4 days. The bread softens as it sits.
- Freezer: Freeze cooled portions in an airtight container for up to 3 months. Thaw in the refrigerator; the texture will be a little softer after freezing.
- Reheating: Add a small splash of broth, cover, and reheat in a 350°F oven until the center reaches 165°F. Uncover near the end if you’d like to restore some crispness to the top; reheating uncovered from the start can dry the bread out.
Questions That Come Up Before the Stuffing Goes in the Oven
Classic Thanksgiving Stuffing from Scratch
Ingredients
Equipment
Method
- Heat the oven to 300°F.
- Coat a 9x13-inch baking dish with the cooking spray.
- Spread the bread cubes in a single layer across 2 rimmed baking sheets.
- Bake for 25–35 minutes, stirring once, until dry and crisp; let cool.
- Melt the butter in a 12-inch skillet over medium heat.
- Add the onion and celery, and cook for 8–10 minutes until softened.
- Stir in the sage, thyme, and parsley for the final minute.
- Whisk the broth, eggs, salt, and pepper together in a large bowl.
- Add the dried bread and cooked vegetables to the bowl and toss with the broth mixture until evenly moistened.
- Transfer the mixture to the prepared baking dish.
- Increase the oven to 350°F, cover the dish tightly with foil, and bake for 30 minutes.
- Uncover and bake for 15–20 minutes, until the center reaches 165°F and the top is golden.
- Rest the stuffing for 10 minutes before serving.