
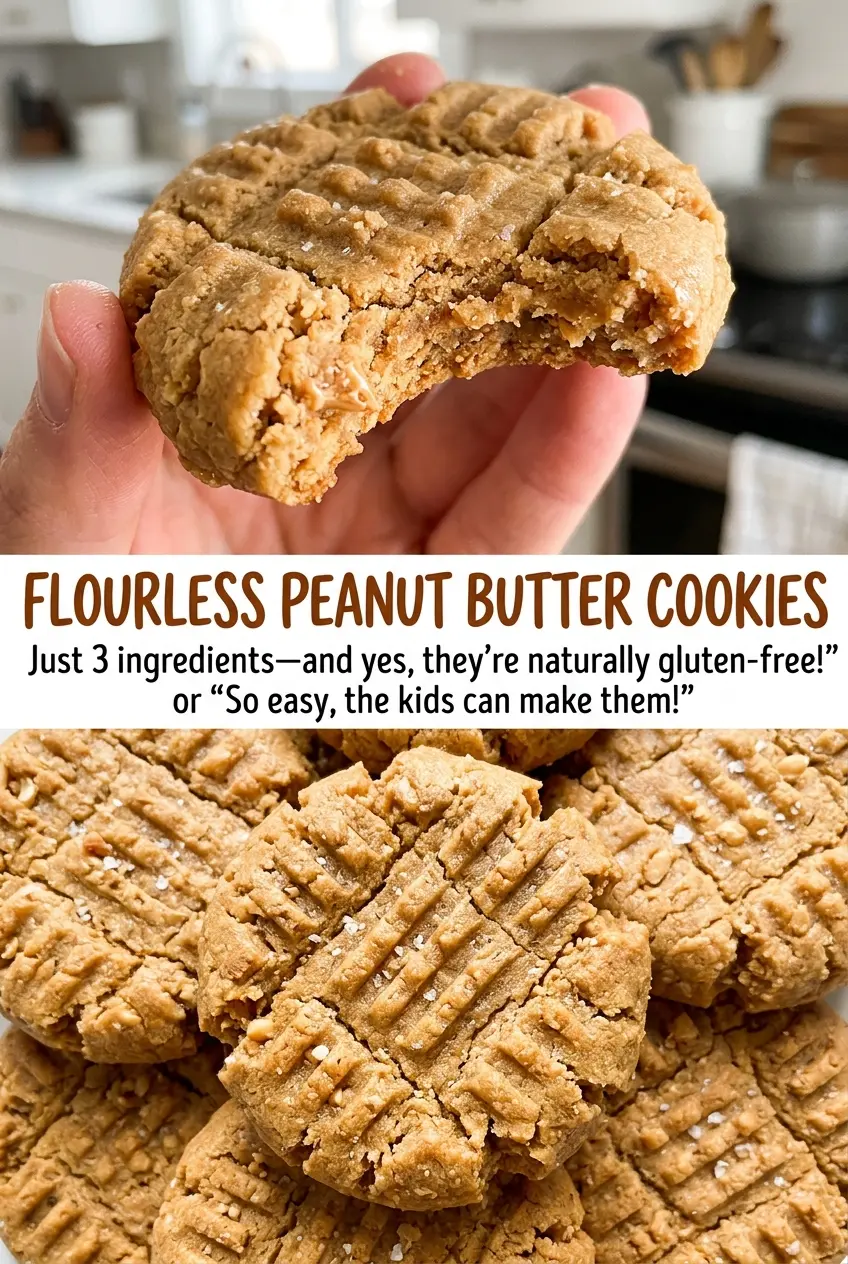
The fork leaves a neat crosshatch on each mound of dough, but these cookies don’t need to look perfectly smooth to bake well. Watch the edges instead: they should look lightly browned and set while the centers still seem soft. That small difference is what keeps flourless peanut butter cookies from turning dry and crumbly.
The dough comes together in one bowl, and the ingredient choice that matters most is creamy peanut butter that isn’t natural-style. Its consistency makes a dough you can portion and press with a fork without fighting a layer of separated oil. I bake one pan at a time, then let each batch settle before moving the cookies to a rack. You get 24 tender-centered cookies with crisp-looking fork marks and a deep peanut butter taste.
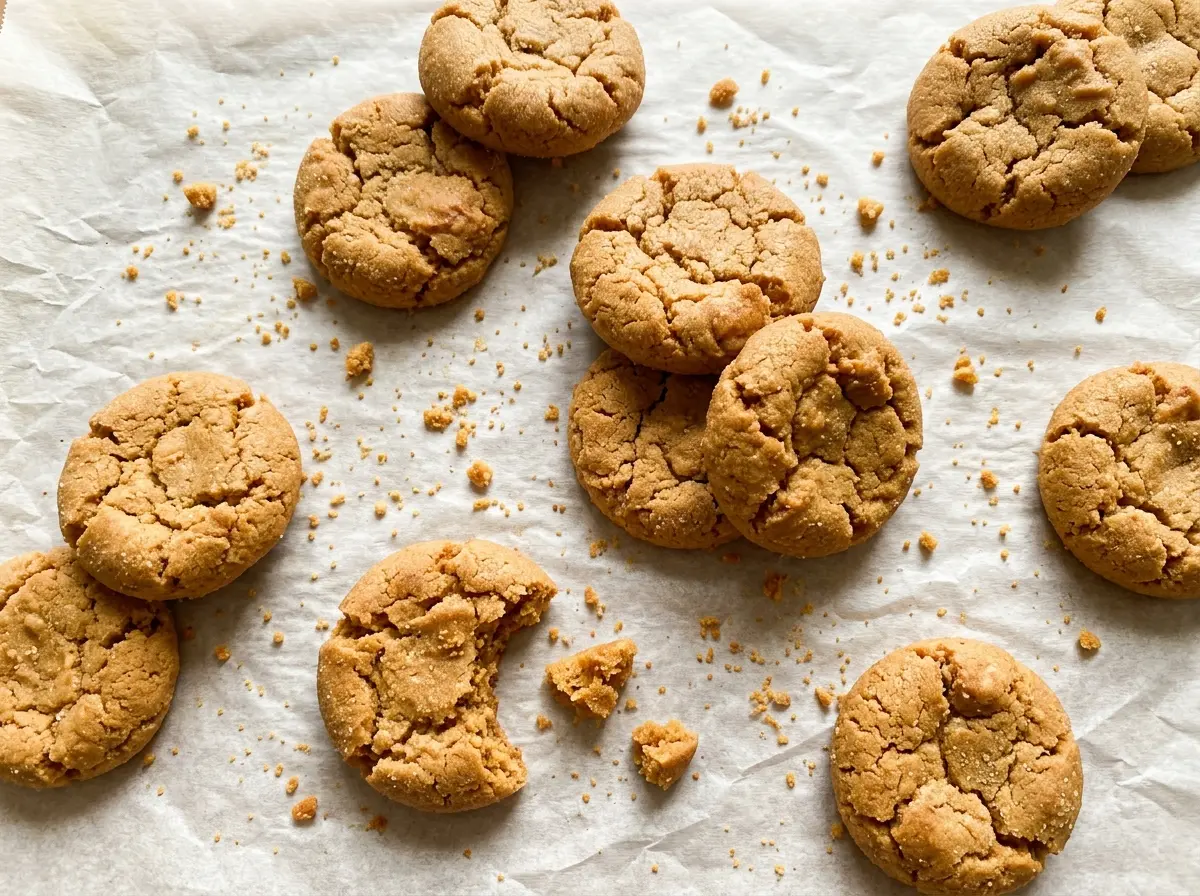
Kitchen Note
These cookies are delicate straight from the oven, even when the edges look set. Leave them on the baking sheet for the full five minutes before transferring them, or the soft centers can break as you lift them.
Save these flourless peanut butter cookies for a simple one-bowl bake with soft centers and crisp fork-marked tops.
Why Natural Peanut Butter Throws Off This Flourless Dough
With no flour in the bowl, peanut butter does more than supply its familiar taste. It also gives the dough much of its body, so consistency matters from the first stir. Natural-style peanut butter often separates, leaving oil at the top and a denser layer underneath. Even after stirring, that uneven texture can make the dough behave differently from batch to batch.
Creamy peanut butter that isn’t natural-style gives you a more uniform mixture to combine with the egg and sugar. The finished dough should be evenly blended, not streaked with oil or dry patches. That consistency makes rounded spoonfuls easier to portion and flatten, and it helps the cookies bake more evenly. If a jar of natural-style peanut butter is what you have, save it for another use rather than trying to correct the dough with extra ingredients.
What Each Ingredient Contributes to These Five-Ingredient Cookies
- Creamy peanut butter — This is the main source of peanut flavor and the base of the dough. A familiar grocery-store creamy peanut butter is a good choice here; the specialty jar isn’t needed. Keep it smooth so the dough can be mixed and pressed evenly.
- Granulated sugar — Sugar sweetens the cookies and helps their edges brown. Stick with granulated sugar for the balance this short ingredient list depends on; brown sugar brings extra moisture and can change the texture.
- Egg — The egg binds the peanut butter and sugar into a dough that holds together when scooped. Use a large egg, as the amount of moisture affects how well the cookies form. I don’t recommend leaving it out or making a casual swap; the cookies rely on it for structure.
- Vanilla extract — Vanilla rounds out the peanut butter and sugar without taking over. Standard vanilla extract works well, so there’s no need to use a costly bottle for this bake.
- Baking soda — Baking soda helps the cookies puff and brown as they bake. Measure it carefully and stir it through the dough so one cookie doesn’t get a concentrated, bitter patch.
From One Bowl to a Pan of Soft-Centered Cookies
Stir Until the Dough Looks Even
Preheat the oven to 350°F and line a large rimmed baking sheet with parchment paper. In a medium bowl, stir together the peanut butter, sugar, egg, vanilla, and baking soda. Keep stirring until the mixture looks uniform, with no visible streaks of egg or baking soda. The dough will be thick, so scrape along the bottom and sides of the bowl as you mix.
Portion and Press the Crosshatch
Drop rounded tablespoonfuls of dough onto the prepared sheet, leaving about 2 inches between them. That space gives the cookies room to spread without crowding one another. Flatten each mound with a fork, pressing once in one direction and then across it to make the crosshatch. Press evenly so the cookies bake at a similar pace.
Pull the Pan While the Centers Still Look Soft
Bake one pan at a time for 8 to 10 minutes. The edges should be lightly browned and set, while the centers still look soft; don’t wait for the centers to look firm in the oven. If the whole cookie looks dry before it comes out, it has gone too far for the tender texture you’re after. Bake the remaining dough in batches, letting the baking sheet cool between batches.
Let the Cookies Finish Setting
Leave the baked cookies on the sheet for 5 minutes, then transfer them to a wire rack to cool completely. The short rest lets the cookies firm enough to move without losing their shape. Use a thin spatula to lift them gently if any edges cling to the parchment. They’ll be more fragile warm than they are after cooling.
Two Small Changes to Shape the Cookies Your Way
A smoother top instead of a crosshatch
For a simpler finish, flatten each rounded spoonful with the back of a fork without making the second crosswise impression. The cookies keep the same peanut butter flavor, but the tops look more understated and the surface has fewer ridges.
A flatter cookie with more crisp edge
Press the dough a little flatter with the fork before baking. A thinner cookie has more edge in each bite, so watch for the same visual cue: lightly browned, set edges with centers that still look soft. The size and shape can affect when that cue appears within the stated bake time.
Storage and Reheating
- Room temperature: Keep completely cooled cookies in an airtight container for up to 4 days.
- Refrigerator: Store airtight for up to 1 week; chilling makes the cookies firmer, so let them come back to room temperature before serving.
- Freezer: Freeze cooled cookies in an airtight container for up to 2 months, separating layers with parchment. Thaw at room temperature.
- Reheating: These cookies don’t need reheating. Let chilled or thawed cookies soften at room temperature rather than warming them until the peanut butter gets oily.
Questions That Come Up When Baking Flourless Peanut Butter Cookies
Flourless Peanut Butter Cookies
Ingredients
Equipment
Method
- Preheat the oven to 350°F.
- Line a large rimmed baking sheet with parchment paper.
- In a medium bowl, stir together the peanut butter, sugar, egg, vanilla, and baking soda until evenly combined.
- Drop rounded tablespoonfuls of dough onto the prepared baking sheet, spacing them about 2 inches apart.
- Flatten each dough portion with a fork in a crosshatch pattern.
- Bake one pan at a time for 8 to 10 minutes, until the edges are lightly browned and set while the centers still look soft.
- Bake the remaining dough in batches, letting the baking sheet cool between batches.
- Let the cookies cool on the baking sheet for 5 minutes.
- Transfer the cookies to a wire rack to cool completely.


