
The apples are ready when a spoon pushes through them but they still keep their little square shape. Cook them until they go soft and they can turn into applesauce before the cheesecake has a chance to set. I learned to watch the pieces, not just the clock, when I started making this no bake apple pie cheesecake.
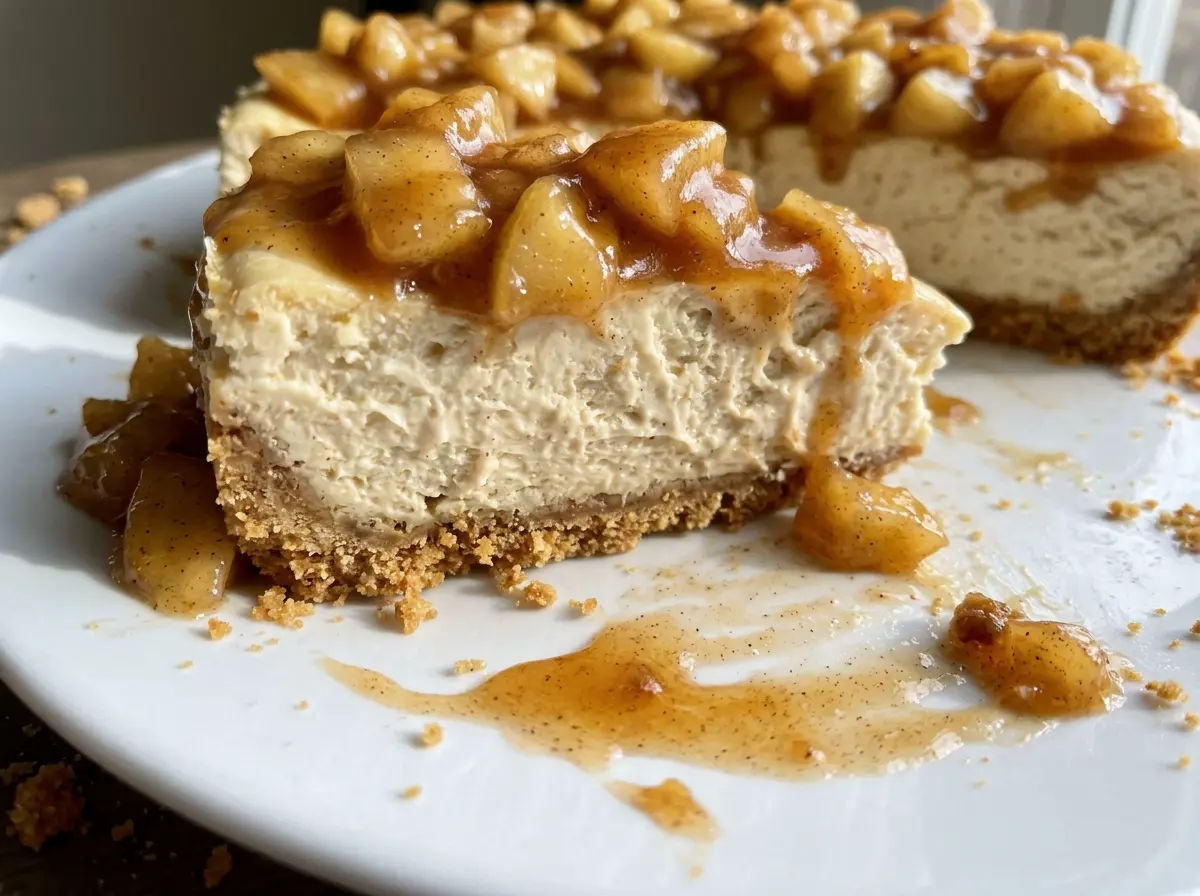
The other detail that makes the layers behave is giving each one time to cool or chill before the next goes on. The crust firms up in the refrigerator, the whipped cream lightens the cream cheese, and the glossy apple topping needs to be completely cool before it meets the filling. That gives you a slice with a buttery crumb base, a soft cheesecake middle, and cinnamon apples that stay right where you put them.
Kitchen Note
Fold the whipped cream into the cream cheese in three additions, and stop as soon as the last streak disappears. If you keep stirring to make the filling extra smooth, you’ll knock out some of the air that helps it set up light.
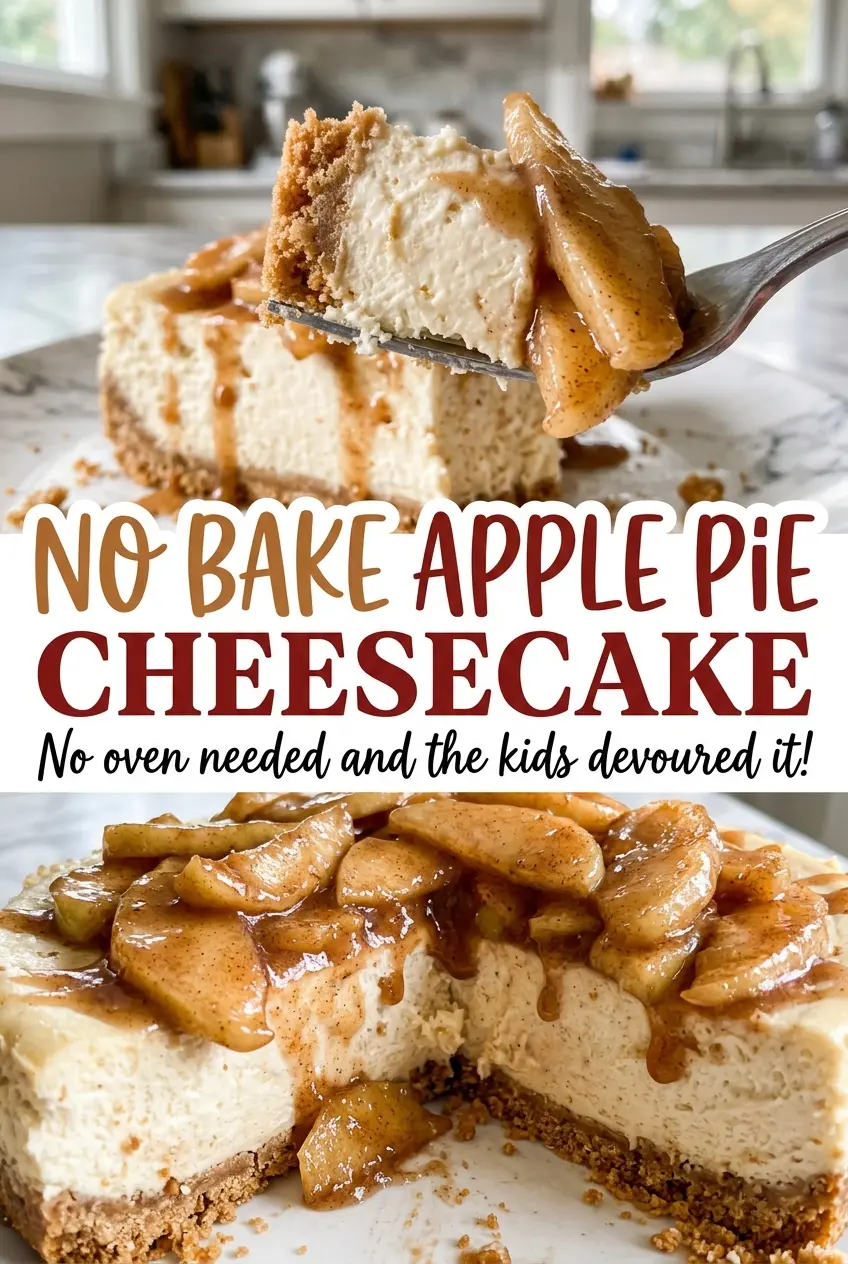
Save this no bake apple pie cheesecake for its creamy filling and cinnamon-coated apple topping.
Why the Apple Topping Has to Be Cold Before It Goes on the Cheesecake
A warm topping can soften the cream cheese filling and leave the top layer loose, even when the cheesecake itself has had plenty of time to chill. Cooling the apples completely before assembly isn’t just a convenience; it keeps the layers distinct. I transfer the cooked apples to a bowl so the heat can escape instead of leaving them in the saucepan.
The sauce needs its own moment, too. The cornstarch is whisked with lemon juice until smooth before it goes into the apples, which helps it thicken evenly instead of leaving little dry lumps. After a minute or two on the heat, the sauce should look glossy and coat the apple pieces. Once it cools, it settles into a spoonable topping rather than running down the sides of the cheesecake.
There’s a useful contrast in the finished dessert: the filling is airy and mild, while Granny Smith apples bring a tart bite and the brown sugar-cinnamon sauce adds warmth. Keeping the apples in pieces instead of cooking them down preserves that contrast in every slice.
The Ingredients That Give This No-Bake Cheesecake Its Structure
- Graham cracker crumbs and melted butter — The crumbs make a compact base, and the butter binds them once the crust is cold. Store-bought crumbs work well; if you crush crackers yourself, aim for fine, even crumbs so the base presses together instead of crumbling when sliced. The small amount of granulated sugar gives the crust a little sweetness without making it taste like a cookie.
- Cream cheese — This is the backbone of the filling, so let it soften before mixing. Cold cream cheese tends to stay lumpy even after the powdered sugar goes in. Beat it smooth first; the powdered sugar and vanilla blend in more evenly after that.
- Cold heavy cream — Whipped cream gives this filling its lift without baking. Keep it cold until you whip it, and stop when the peaks stand upright. A pourable cream or a soft, loose whip won’t give the filling the same structure.
- Granny Smith apples — Their tartness keeps the brown sugar topping from tasting flat, and their firm flesh holds its shape during cooking. Peel, core, and cut them into even half-inch pieces so they soften at about the same pace. Softer apples can lose their shape more quickly, so Granny Smiths are the dependable choice here.
- Cornstarch and lemon juice — Whisking them together first makes a smooth thickener for the apple juices. The lemon also brightens the cooked topping, while the brown sugar and cinnamon supply the familiar apple-pie warmth. Don’t stir dry cornstarch straight into the saucepan; it can clump before it thickens.
Build the Crust, Filling, and Apple Layer in the Right Order
Press a firm, even graham crust
Lightly grease the sides of a 9-inch springform pan and line the bottom with parchment. Stir the crumbs and granulated sugar together, then add the melted butter and mix until the crumbs look evenly moistened. Press them firmly across the bottom; loose patches are the first places to crumble when you cut a slice. Chill the crust for 20 minutes before adding the filling.
Whip the cream and fold gently
Beat the softened cream cheese on medium speed until it’s smooth, about 2 minutes, then mix in the powdered sugar and vanilla. In a separate bowl, whip the cold heavy cream on medium-high until stiff peaks form, about 2 to 3 minutes. Fold the cream into the cheese mixture in three additions, checking the bottom of the bowl for hidden streaks. Stop once the filling is uniform so it stays light.
Cook apples until tender, not collapsed
Combine the apples with the brown sugar, water, cinnamon, salt, and 1 tablespoon of lemon juice in a medium saucepan. Cook over medium-low heat, stirring occasionally, for 8 to 10 minutes. The apple pieces should be tender when pierced but still hold their edges; if they’re falling apart, they’ve gone past the texture this topping needs. Whisk the cornstarch with the remaining lemon juice, stir it in, and cook for 1 to 2 minutes until the sauce turns glossy and thick.
Cool, assemble, and give it time
Transfer the topping to a bowl and let it cool completely. Spread the filling evenly over the chilled crust, cover the pan, and refrigerate for at least 6 hours, until firm. Spread the cool apple topping over the set cheesecake and refrigerate for another 30 minutes. Before unclasping the pan, run a thin knife around the edge; then slice and serve.
Small Changes That Keep the Apple-Cheesecake Balance
Carry cinnamon into the filling
For a more cinnamon-forward slice, divide the recipe’s ground cinnamon between the filling and the apple topping instead of putting it all with the apples. The cheesecake itself will taste warmer and more spiced, while the topping keeps its apple flavor. Keep the total cinnamon amount the same.
Keep the apple layer separate until serving
For a different look at the table, leave the cooled topping in its bowl and spoon it over individual slices instead of spreading it over the whole cheesecake. The cheesecake stays visually simple, and each serving gets as much apple topping as you like without changing the ingredients.
Make-Ahead and Storage
- Refrigerator: Cover leftovers and refrigerate for up to 3 days. The crust gradually softens as it sits beneath the filling.
- Freezer: Freeze individual slices without the apple topping, wrapped tightly, for up to 1 month. Thaw them in the refrigerator; the topping is best made and kept separately because its texture can change after freezing.
- Serving: Serve chilled. This is a no-bake cheesecake, so reheating isn’t needed and will soften the filling.
Questions That Come Up Before Slicing This No-Bake Cheesecake
No Bake Apple Pie Cheesecake
Ingredients
Equipment
Method
- Lightly grease the sides of a 9-inch springform pan and line the bottom with parchment paper.
- Stir the graham cracker crumbs and granulated sugar together.
- Mix in the melted butter until evenly moistened.
- Press the crumb mixture firmly over the bottom of the pan.
- Refrigerate the crust for 20 minutes.
- Beat the cream cheese in a large bowl with an electric mixer on medium speed until smooth, about 2 minutes.
- Beat in the powdered sugar and vanilla until combined.
- In a separate bowl, whip the cold heavy cream on medium-high speed until stiff peaks form, about 2 to 3 minutes.
- Fold the whipped cream into the cream cheese mixture in three additions until no streaks remain.
- Combine the apples, brown sugar, water, cinnamon, salt, and 1 tablespoon of the lemon juice in a medium saucepan.
- Cook over medium-low heat, stirring occasionally, for 8 to 10 minutes, until the apples are tender but still hold their shape.
- Whisk the cornstarch with the remaining 1 tablespoon lemon juice until smooth.
- Stir the cornstarch mixture into the apples.
- Cook for 1 to 2 minutes, stirring, until the sauce is glossy and thickened.
- Transfer the topping to a bowl and cool completely.
- Spread the cheesecake filling evenly over the chilled crust.
- Cover the pan and refrigerate for at least 6 hours, until firm.
- Spread the cooled apple topping over the cheesecake.
- Refrigerate for 30 minutes.
- Run a thin knife around the edge of the cheesecake.
- Unclasp the pan and slice to serve.


